SHOTS · OVERHEAD
Clear, drop or smash? See the difference
These three shots can begin with a similar overhead preparation. What changes is the height, speed and landing point—and therefore the problem you give your opponent.
Reviewed against the BWF Laws of Badminton · Updated 31 August 2026Choose by the job you need done
- 01Clear: send the shuttle high and deep to create time or push the opponent back.
- 02Drop: make it fall near the net after the opponent moves back.
- 03Smash: hit steeply down when the shuttle is high and you are balanced.
INTERACTIVE FLIGHT PATHS
Watch the three paths from the same contact point.
Switch shots to compare height and landing depth. The moving shuttle follows the actual shape that matters in play.
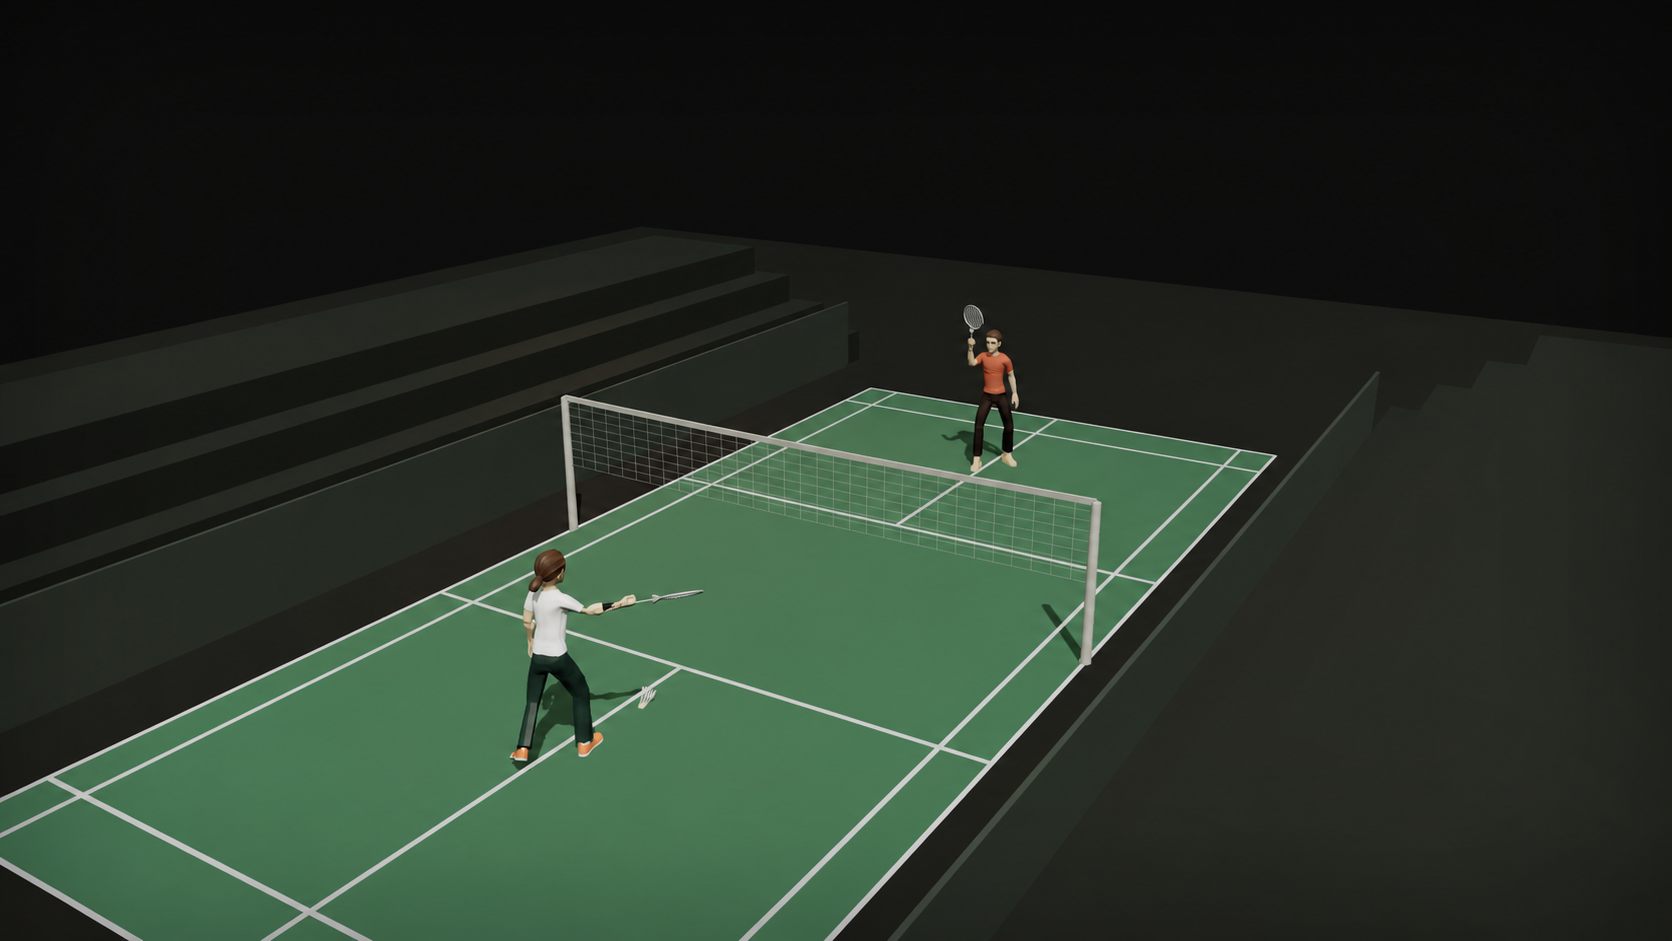
Loading shot paths…
HIGH · DEEPThe clear climbs high and lands near the back. It buys time and moves the opponent away from the net.
Drag to rotate · Double-click to reset01 / CLEAR
Use height and depth to reset the rally
A clear sends the shuttle toward the back of the opponent’s court. A high defensive clear gives you time to recover. A faster attacking clear passes over the opponent with less height.
For a beginner, the important goal is simple: make the opponent turn and move back while keeping the shuttle in.
02 / DROP
Show deep, then play short
A useful drop looks similar to a clear before contact. The opponent cannot move forward too early because a clear is still possible.
The shot does not need to brush the tape. A slightly higher drop that lands safely in front is often better than a perfect-looking shot that hits the net.
03 / SMASH
Attack a short, high shuttle
Smash when the shuttle is high enough, you are behind it, and your body is balanced. Contact high and slightly in front to create a downward path.
If you are late or falling backward, a clear or drop is usually safer. Power cannot rescue a poor contact point.